
Using Adobe Audition is the process of creating digital audio projects. It is a multitrack non-destructive mix/edit environment. It is developed by Adobe Inc.
CS5.5 is the first release to be available as a Mac and a Windows version
Previously available only as a Windows application, Adobe Audition has been ported to Mac OS X. Now, it is a complete audio and video multitrack editing environment for Mac and Windows users. The application has been rewritten from the ground up to take advantage of parallel processing. It is available as a stand-alone product or as part of the Adobe Creative Suite 5.5 Production Premium.
Adobe Creative Suite 5.5 Production Premium features powerful new audio editing tools, workflow improvements, and creative innovations. It delivers content to virtually any screen. This is a powerful solution for professionals who create rich media post-production projects. It includes Adobe Premiere Pro CS5.5, Adobe After Effects CS5.5, and Adobe Flash Catalyst CS5.5. Designed for rich media post-production professionals, it helps improve collaboration and facilitates a more efficient workflow.
Using clip-based round-tripping during the edit
Using clip-based round-tripping to get your clips from Audition to Premiere Pro is an esoteric process that can save you time and headaches. For instance, you can re-time your underscore to match the video you’re working on. Plus, all three NLEs handle the process well.
The Audition Multitrack Editor’s Remix feature allows you to apply effects to multiple clips in one go. It’s a little bit of a faff to get it to work on a single clip, but the result is worth the effort. If you have multiple clips to process, you may want to start out with a single clip and then apply effects to it.
The best way to do this is by using the multitrack editor’s Remix feature. To do this, you’ll first want to select all the clips you want to apply the effect to. For instance, if you have a sequence involving an acoustic guitar, you’ll want to start by selecting the guitar.
Using a Spot Healing tool
Using a Spot Healing tool in Adobe audition is an effective way to eliminate distracting noises from an audio file. There are many different tools available to fix problems such as a clipped segment, crackle, or short nose. These tools are easy to use and will allow you to quickly get the job done.
The first step is to determine which tool will best suit your needs. If you are working with a larger object, such as a car, you might want to use the Patch tool. On the other hand, if you are trying to fix a small blemish, such as a smudge, the Healing Brush may be a better bet.
The Spot Healing tool in Adobe audition works by replacing pixels in the image. This is done using an algorithm that finds the best pixels to replace. It may or may not leave a ring around the object to be repaired. You can change the blending mode, hardness, and size of the brush in the options bar.
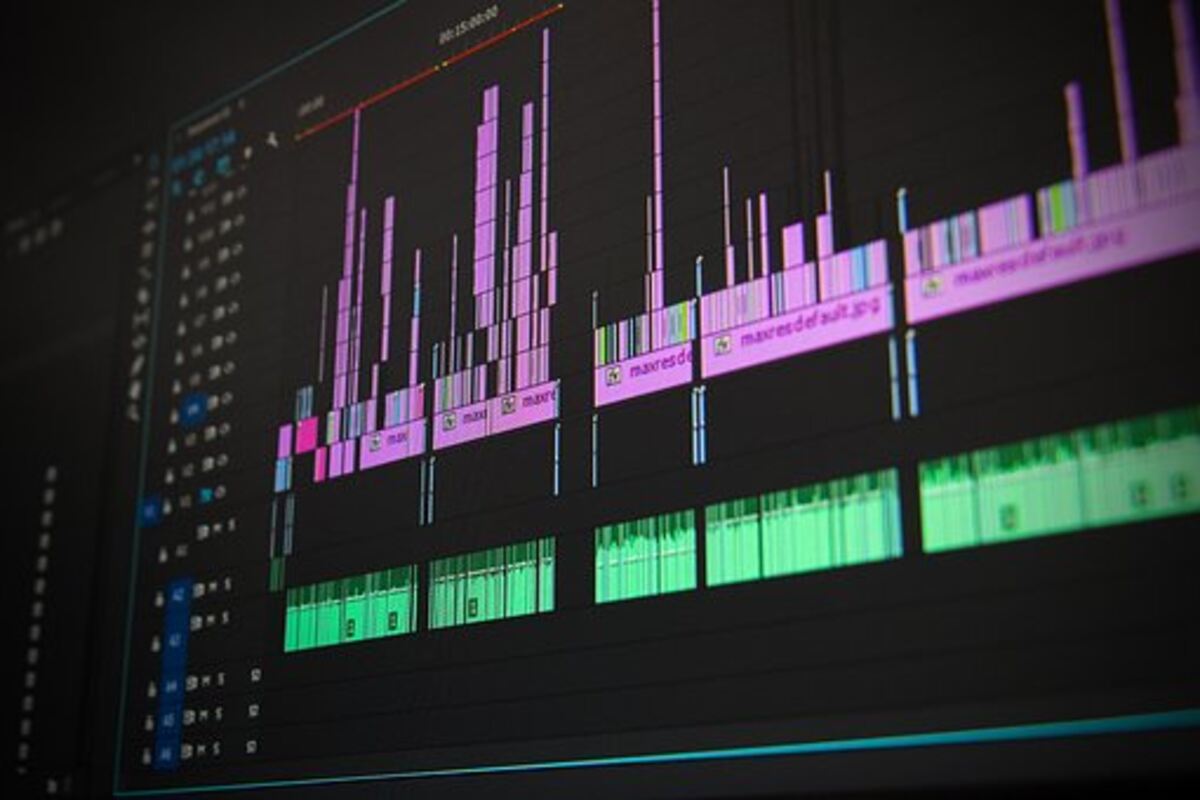
Creating a multitrack session
Creating a multitrack session in Adobe audition requires you to have a basic setup and knowledge of how to use the program. The Multitrack Editor is a non-destructive editing tool that lets you create complex musical compositions by mixing multiple tracks together.
In the Multitrack Editor, you can freely add or remove effects and adjust the volume of each track. You can also use the mixer to blend tracks together. You can use the fader control to reduce background noise. You can also trim the audio at the beginning and the end of the way.
The Multitrack Editor also allows you to open and browse your hard drive. You can drag files to the desired location. You can also move or delete empty tracks. The program is designed for beginners.
Creating fades
Creating fades in Adobe Audition is easy. Its on-screen display includes fade controls for both left and right audio tracks. It also features a range of dedicated effects, such as crossfades and volume lines.
Fading a clip is a great way to introduce a new sound bite. The most effective way to achieve this is by using a pen tool to draw a straight line between two audio tracks. This will create a gradual transition from sound bite to sound bite. You can also use the multi-track mode to mix two audio clips on the same track.
There are two different types of fades: Exponential and Smooth. Exponential fading uses logarithmic functions to make the transition more gradual. This is similar to the Constant Power effect. Constant Power is identical to Exponential, but snaps to the clip’s edge.